

1
Register on Bright Data
Sign up for an account on the Bright Data platform.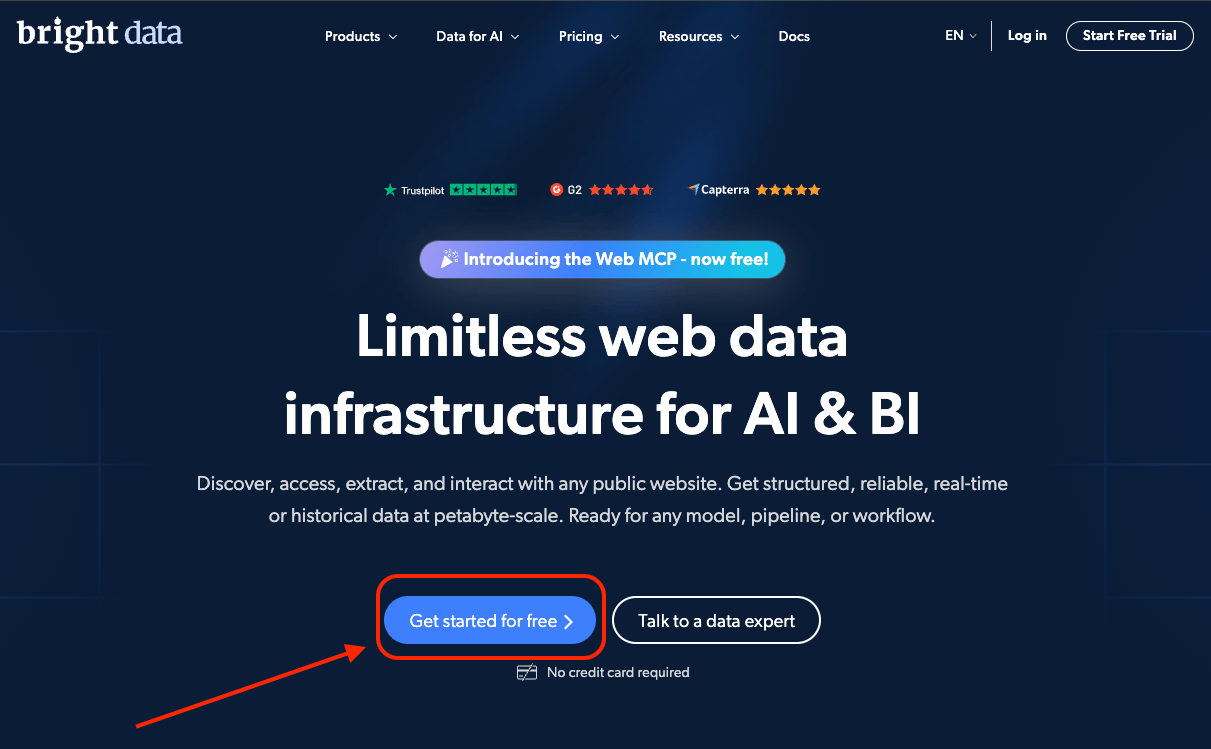
2
Create a New Zone
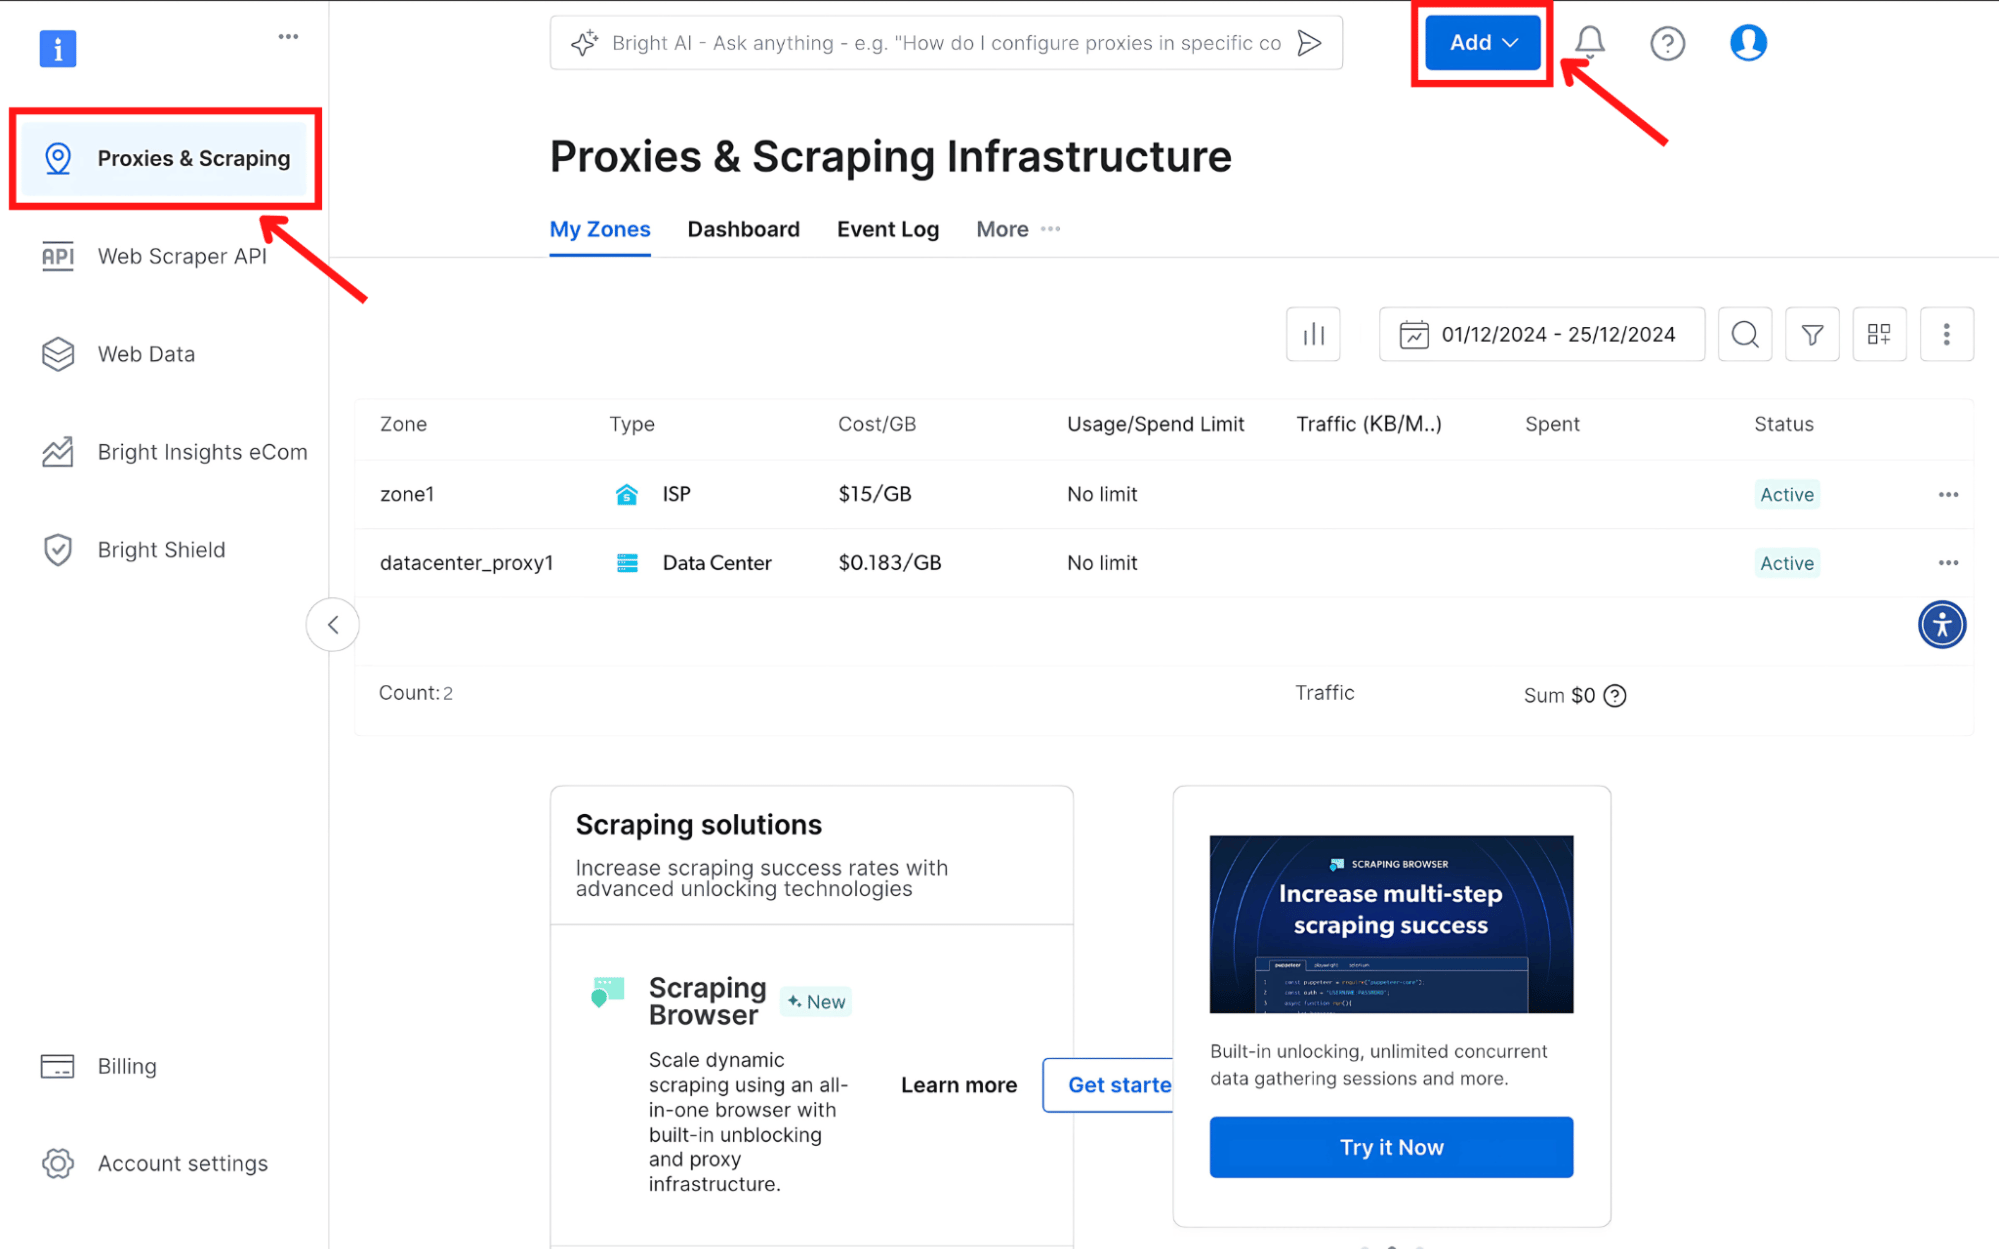
- Go to the Proxy & Scraping section.
- Click Add to create a new Zone.
3
Set Proxy and Location Preferences
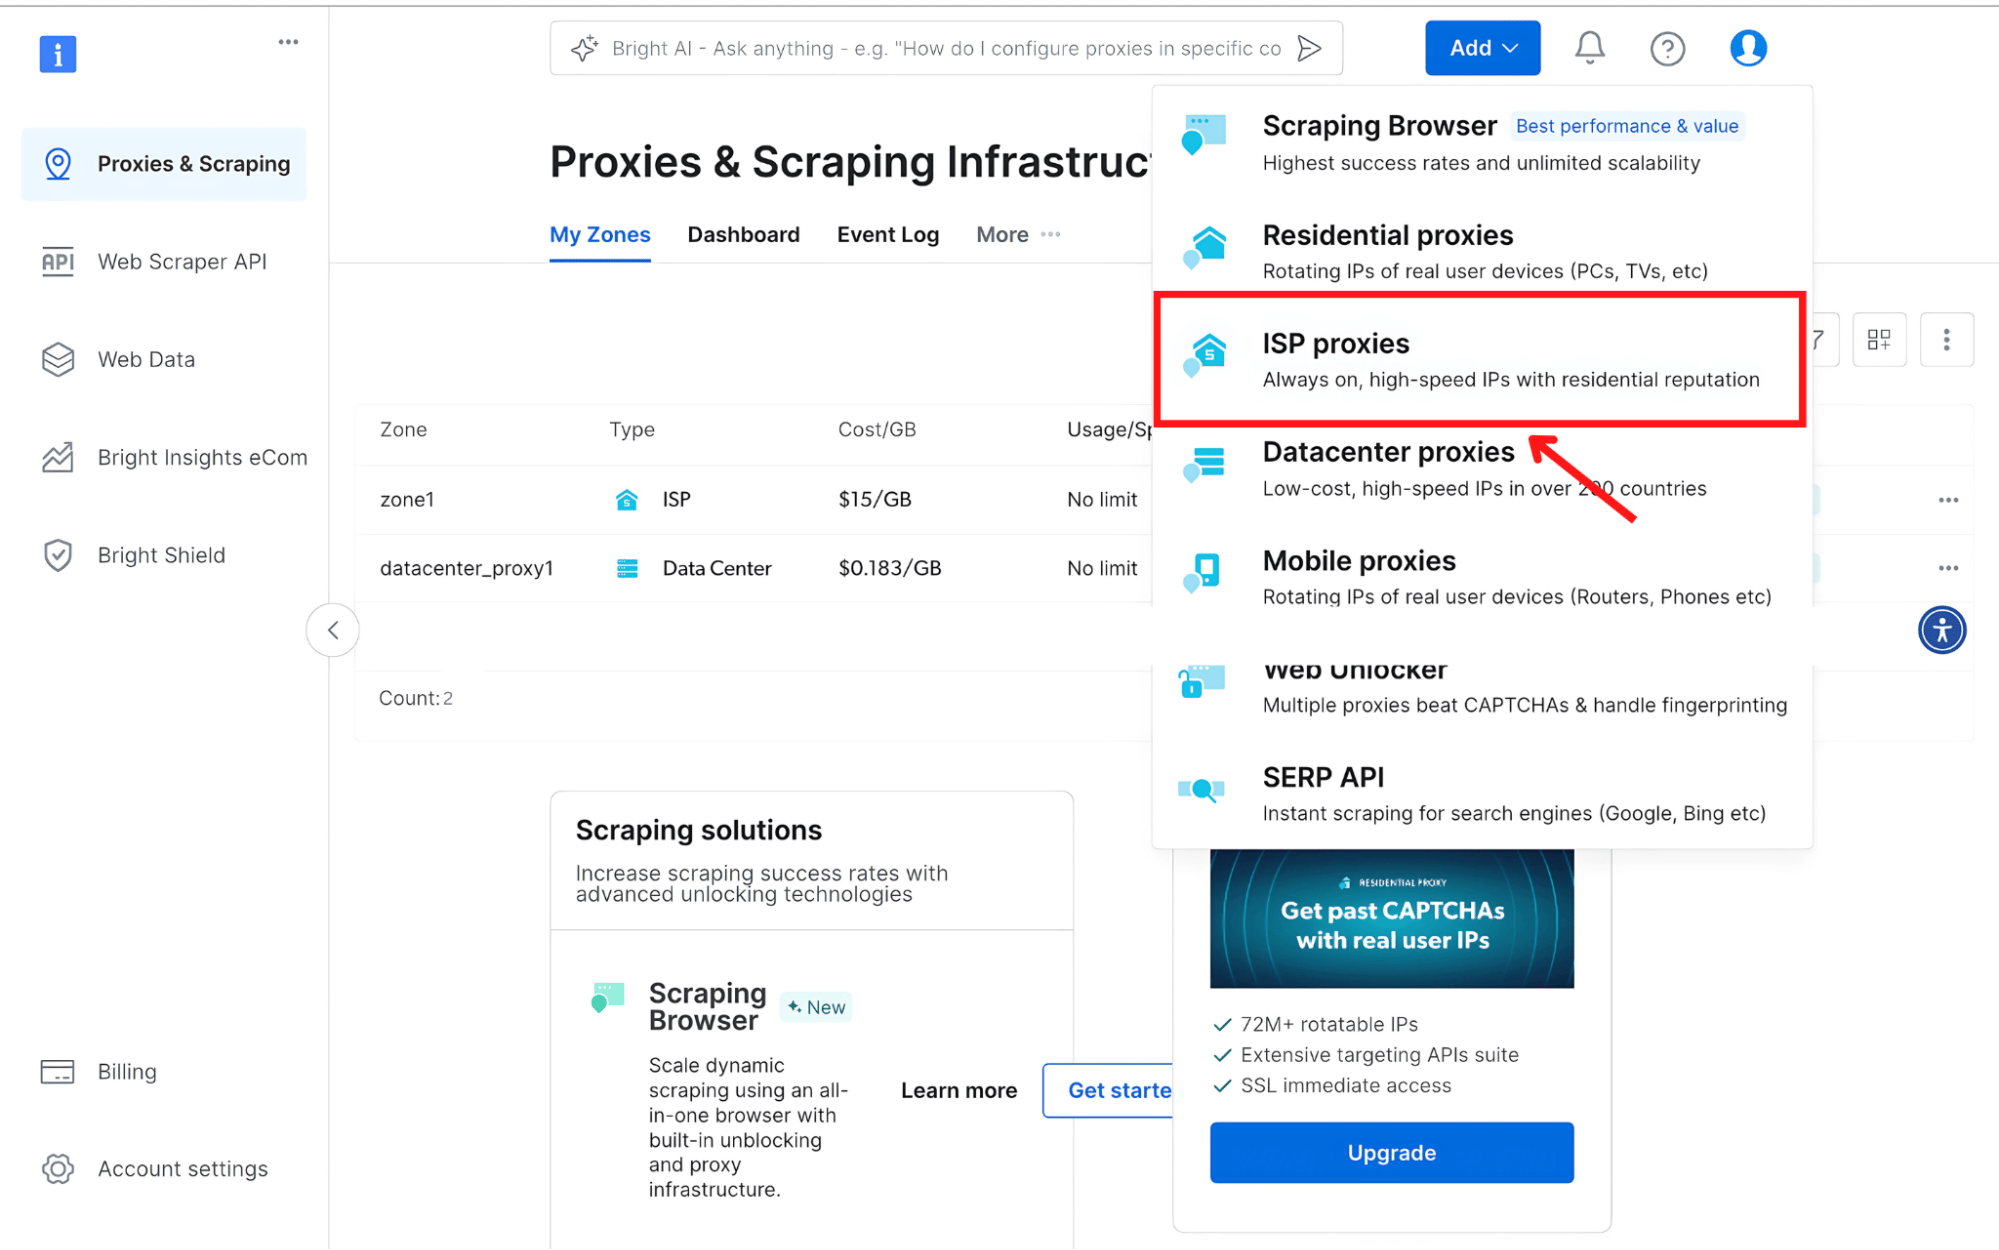
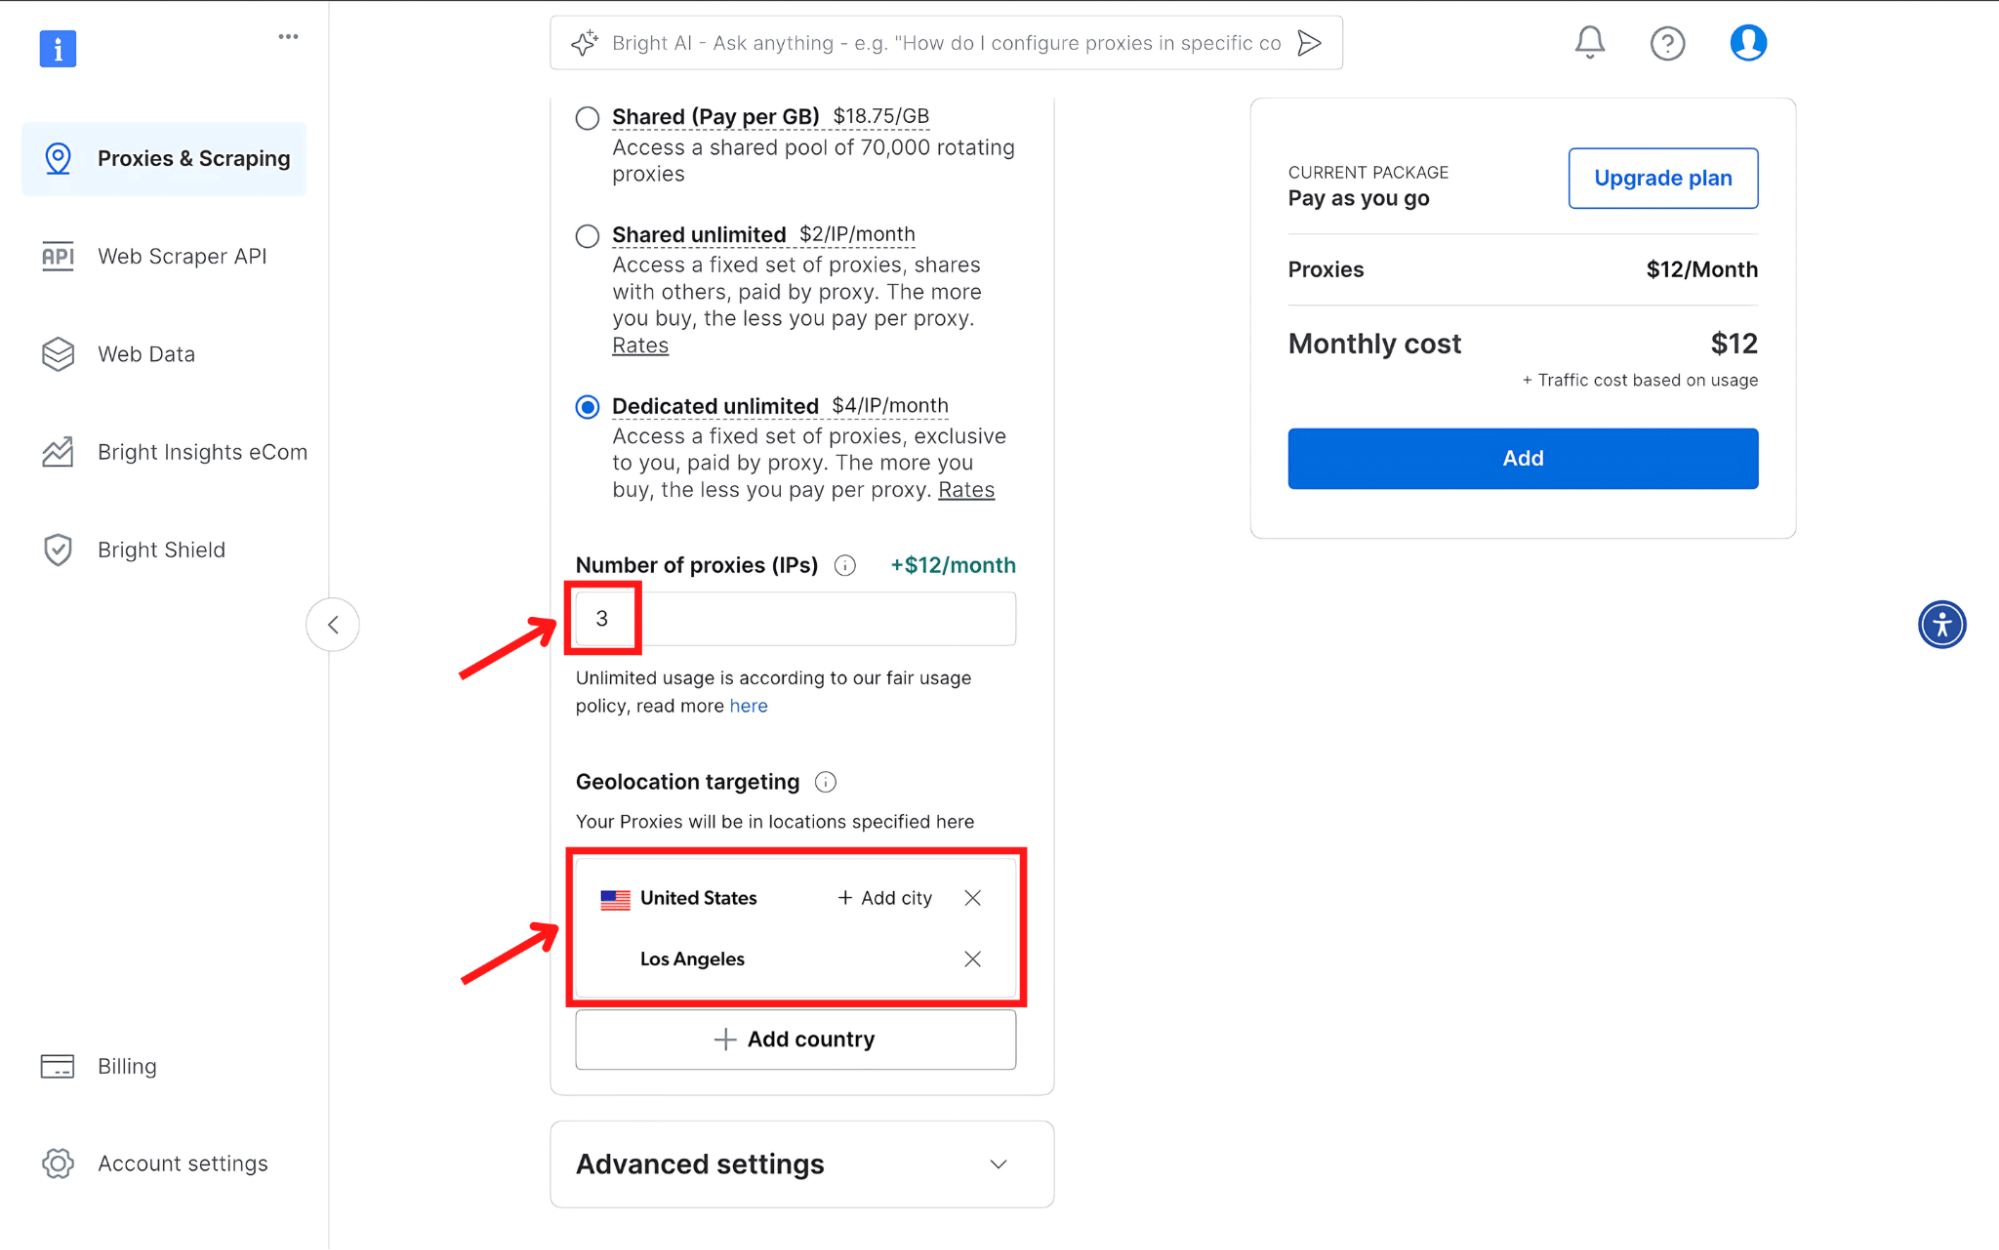
- Choose your proxy type (for example, select ISP Proxies).
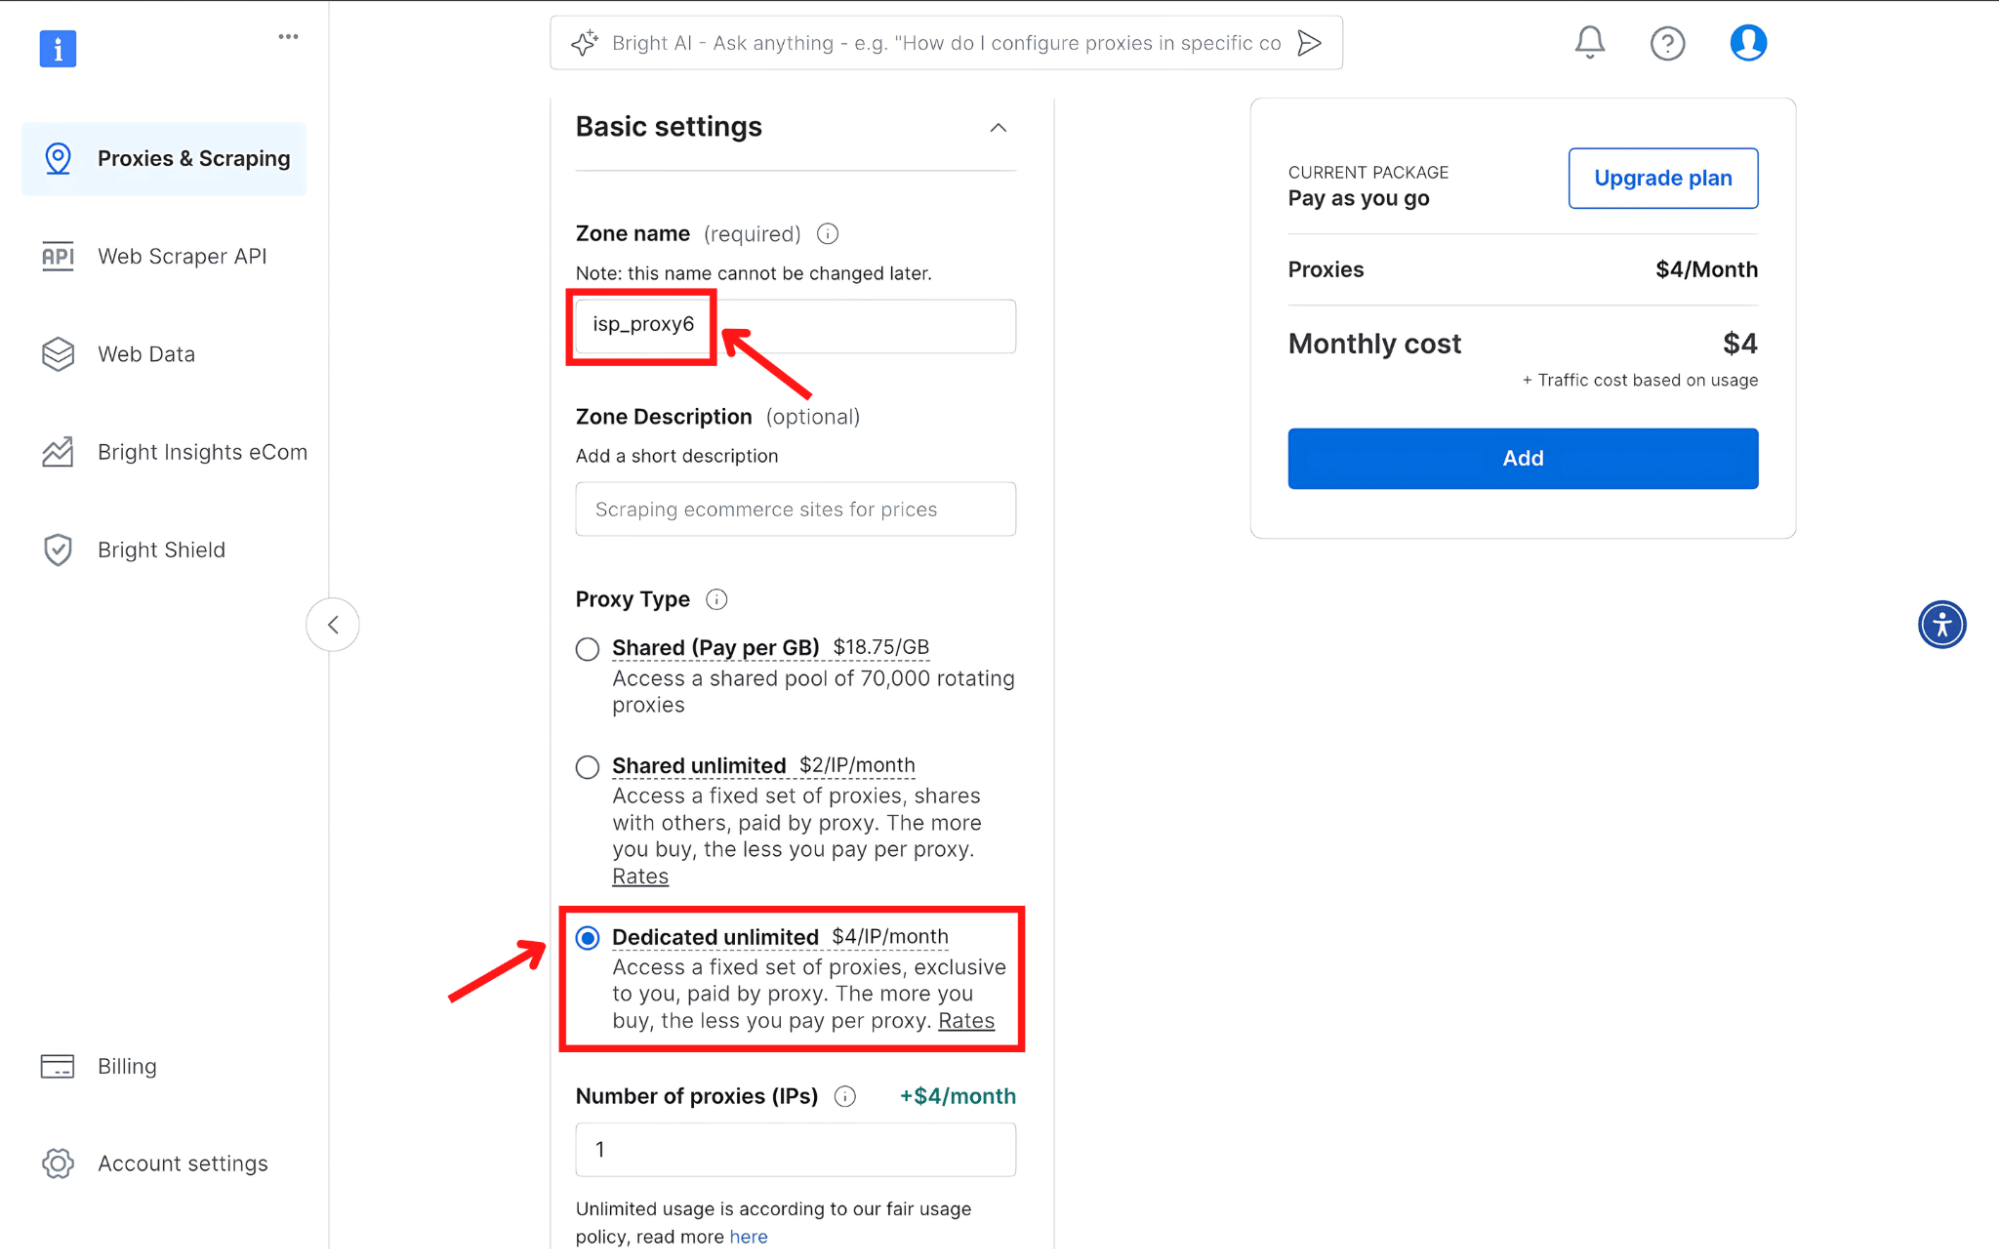
- Enter a name for your Zone and set the IP type to Dedicated.
- Define the number of IPs, then select the country and city for your preferred IP location.
4
Complete Zone Setup and Retrieve Credentials
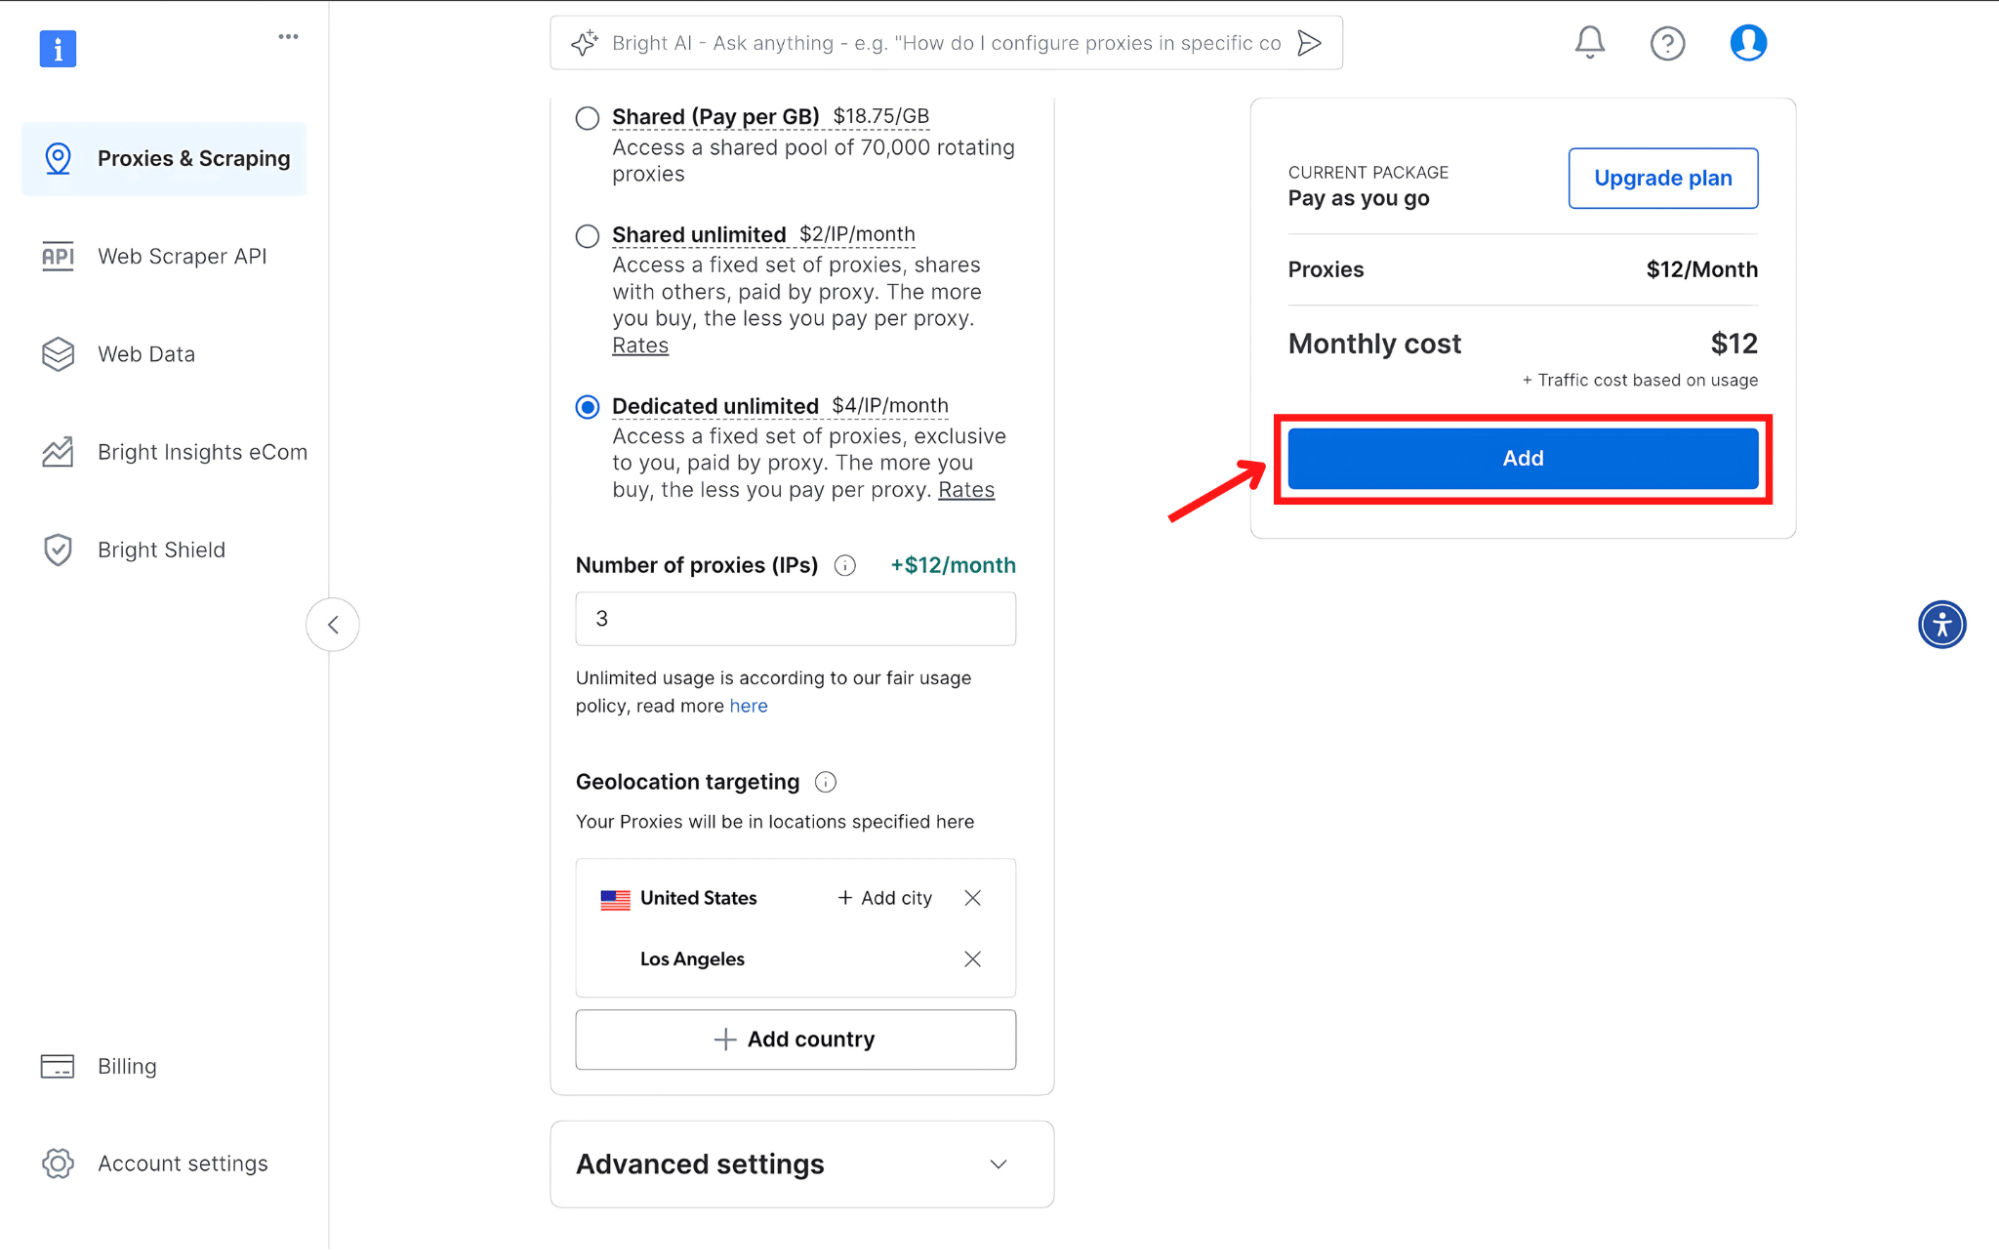
- Click Add to finalize your Zone creation.
-
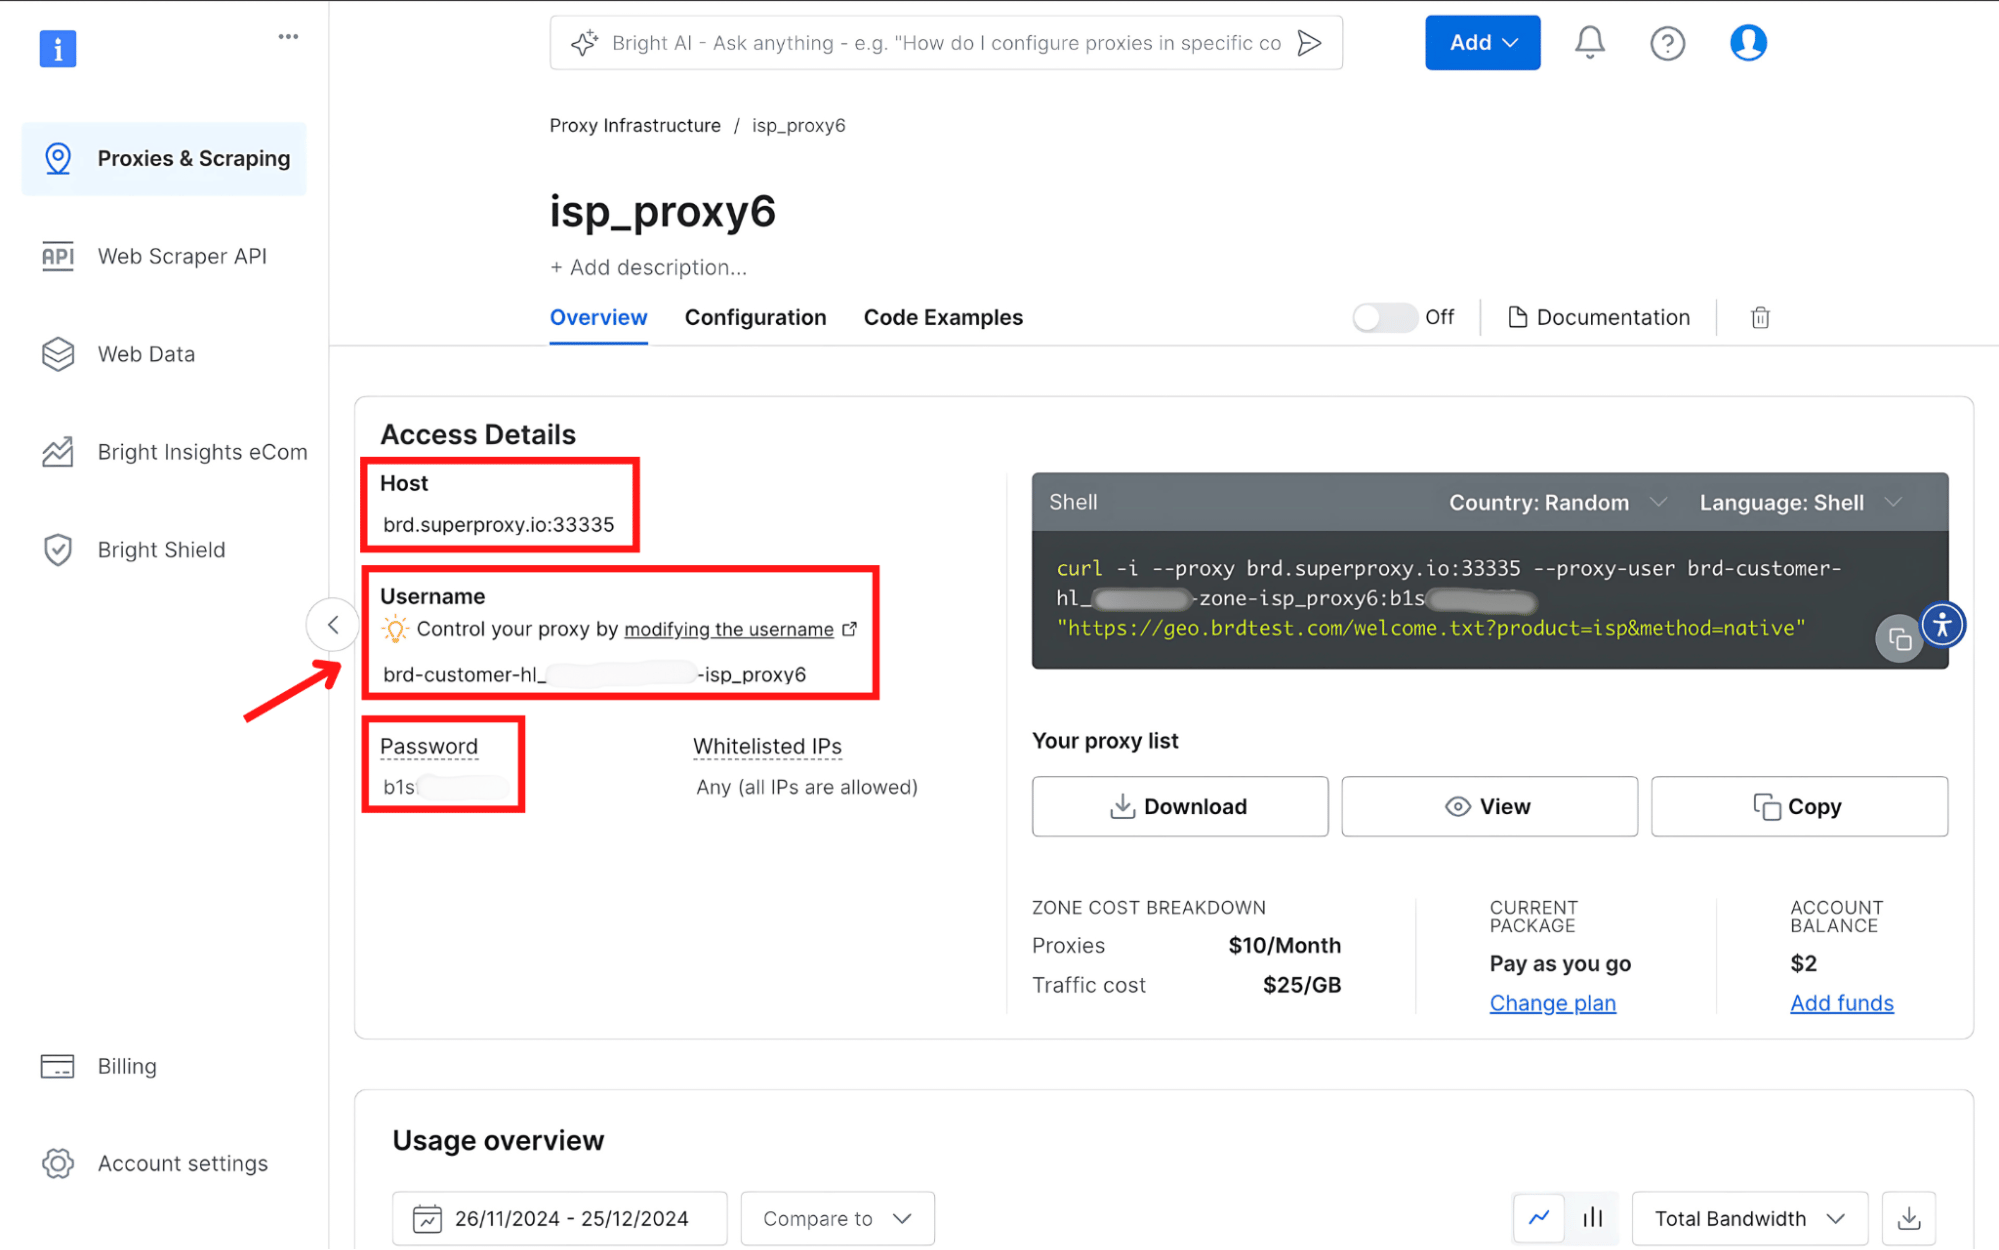
Open your Zone details to view the proxy credentials you’ll need:
5
All Set 🎉
You now have your Bright Data credentials ready to use.
With these details, you can connect your applications or integrations to Bright Data’s network and start accessing real-time web data.Keep your credentials secure, and you’re ready to go!
With these details, you can connect your applications or integrations to Bright Data’s network and start accessing real-time web data.Keep your credentials secure, and you’re ready to go!